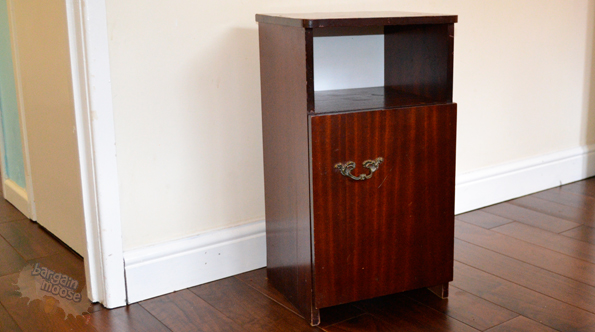
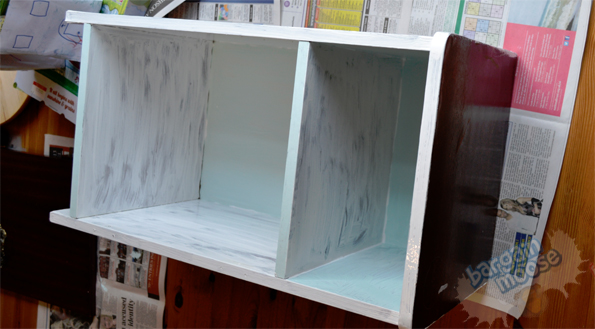
I love a bit of DIY and since I bought my first home a few years ago, I’ve been trying my hand at various tasks and activities round the house. Last week, I attempted to upcycle some furniture – namely my daughter’s beside cabinet. It was a plain and boring piece of furniture, as you can see from the below “before” image. I cannot even remember where we got this – maybe it used to belong to my mother, but I cannot even recall.
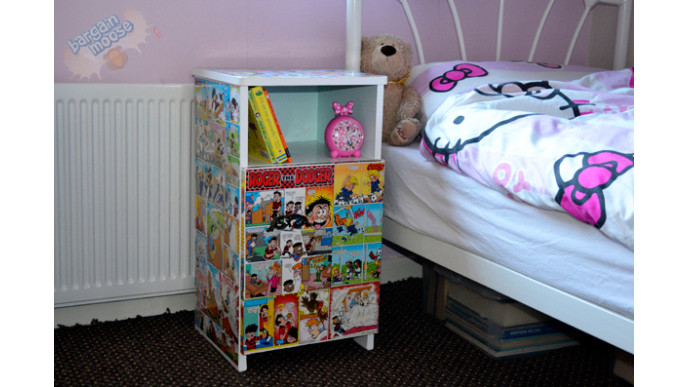
I decided to upcycle the cabinet to a comic-book styled piece, using paint and decoupage together to create an interesting finish. Here’s how to decoupage your furniture!
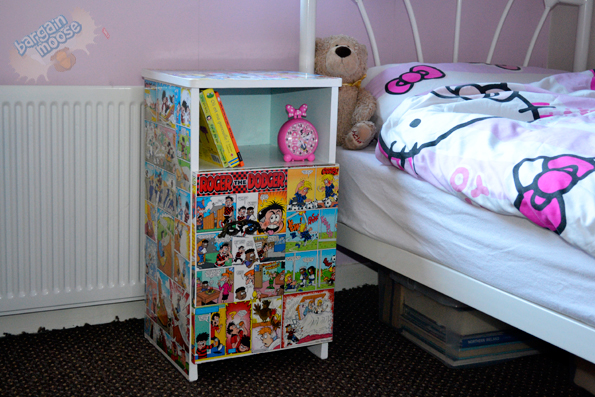
1. Plan your colour scheme and decoupage areas – before you start working on your piece, plan out what you are going to do. In my example, I didn’t want the whole cabinet covered in the comic book decoupage, just select surfaces. I think that completely covering it in the comic would have been too much, so I offset the colourful comics with some other plain surfaces of white and baby blue.
2. Take off all handles and hinges – before you start working on your item of furniture, remove all the accessories that you can, such as handles and hinges. Make sure you keep and store them in a safe place, somewhere that little screws cannot get lost. I actually stored mine in a Ziploc bag for safekeeping.
3. Clean and prepare your surfaces – give your furniture a good clean before you start, to make sure that you’d not getting dust mixed in with your painted areas. Depending on what type of surface you’re working on, you may want to sand some areas to help the decoupage adhere better to the furniture.
4. Paint the areas you want – on the faces you wish to show your paint, get painting! If you plan on using a light coloured paint and your furniture is of a dark finish, consider using a base primer coat of paint. When you’re working on the areas adjacent to the surfaces you want to decoupage, also consider painting on to the edge of these. For example, I used my white paint and painted the edge of the surfaces that were due to be decoupaged, about a centimetre around their edges. This way, when decoupaging on top, you don’t have to be as careful about making sure the paper goes right to the very edge, you have a few millimetres that you can work with.
For this project, I actually used some paints that were in my garage. The baby blue was a tester post from a few years back, and I also used a tin of white gloss which I already had. I had done 3 coats of the white gloss, but noticed that a little corner had easily chipped… so whatever type of paint you use will affect the final look on this project.
5. Cut and prepare your comics – when I started the gluing, because I was so excited to get started, I was cutting out a piece then gluing it on right away, without really planning ahead. However, as I went on, I found it much better to cut out the pieces and plan the whole face before starting to paste it on.
6. Get gluing – you can use whatever glue product you happen to have at home, be it modge-podge or PVC glue. You’re going to want to paste the back of each comic, and then paste more over the top once the paper is stuck to the surface.
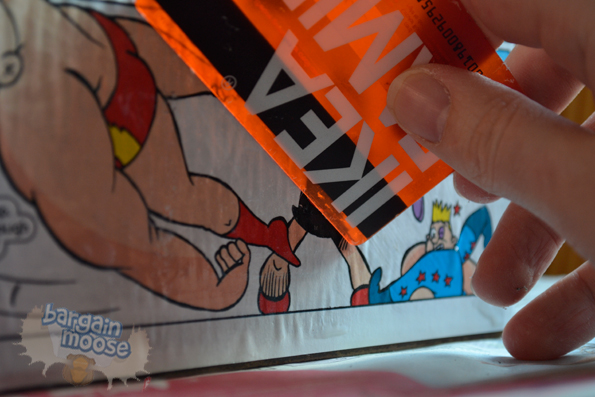
7. Smooth out the creases - as the paper is drying, you may want to try and smooth out some of the creases and air bubbles which appear. I did this with an old Ikea card that I had lying round. The larger the original pieces of material that you are gluing, the harder it is to push out those creases. Keep this is mind when you are choosing what to stick on, and how large to make the pieces.
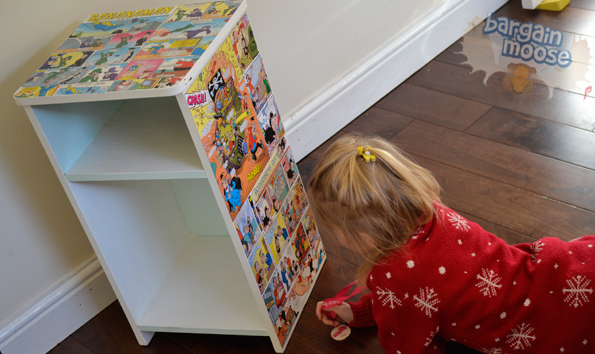
8. Add more decourapage layers – if you’re going to add more and more decoupage rather than just one layer, make sure you let each layer dry before adding more. I'd recommend 24 hours between layers. Here's my little girl studying the comic during the construction process! :)
9. Add more glue/varnish layers – once your piece is dried, you may want to consider adding a few more coats of glue, leaving drying time in between each one. For me, I added a couple of coats of clear varnish on the top, to really try and give this furniture a longer lifespan from all the kicks and knocks of life in a young child's bedroom.
There we have it! What do you think of my finished product in the image at the top of this post? I was very pleased with myself. :) And my daughter LOVES it.